How To Lay A Simple Gravel Path
If you’re looking to add a unique touch to your garden, a simple gravel path might be the answer.
Laying a gravel path is a relatively easy DIY project that can be completed in no time at all, even by a person with limited experience.
Not only do they look elegant, but they also require minimal maintenance, and are cost-effective.
In this guide, we will walk you through the steps involved in laying a simple gravel path.
Planning Your Gravel Path
Gravel Path Start And Finish
Before you begin, it is important to decide where your gravel path will start and finish. Once you have a general idea of the route your path will take, use a garden hose or some string to mark out the perimeter.
This will give you a good visual representation of what your finished product will look like.
Just keep in mind that that larger the gravel path, the more aggregates you will need which means spending more money.
Safety Precautions
It’s important to check for any hidden cables or pipes that may be under the area that you are planning on digging. To do this, simply use a CAT tool.
Choosing And Calculating Your Aggregates
After choosing and planning exactly where your path is going to be, the next step is to choose what kind of aggregates you want to use for the path.
Aggregates come in all kinds of different shapes, colours and sizes. It’s really down to personal preference, as well as would colour what match or work with other elements in your garden.
Here’s a list of some of the decorative aggregates we supply:
Take a look at our full range of decorative aggregates here and choose the most suitable one for your project.
Calculating the amount of aggregates you will need for your gravel path is extremely important. Ordering too much will lead to wastage in both aggregates and money. Ordering too little can again, lead to spending more money due to the cost of additional deliveries.
Choosing The Edging
When it comes to edging, there are a number of different options. Let’s take a look.
- Stone: You can use any type of stone to border a path.
- Metal: Produces a clean and almost borderless look.
- Brick: Traditional style brick finish.
How To Lay A Simple Gravel Path: Step-By-Step
Step 1: Marking & Preparation

The first step is to mark out exactly where you would like your path to go. There are a number of ways you can do this:
- String
- Rope
- Line-marking paint
- Garden hose
Step 2: Digging

Use a square edge spade to ensure the sides of your path are straight. Remove any turf and top soil and dig the trench to around 10cm to 15cm (4 – 6 inches). The overall depth will depend upon the condition of the soil.
It’s a good idea to occasionally check the depth of the trench during the digging process. The bottom of the trench should then be smoothed over using a steel rake, then compact using a flattening tool such as a hand tamper.
Step 3: Install the Edging

As previously mentioned, there are a number of different options you can use to border both sides of your path.
- Stone: For a smooth appearance, the stones should be fitted tightly together.
- Metal Edging: Anchor with metal stakes and set the metal edging around 1 inch higher than the actual path. A circular saw can be used t cut the metal edging to the required size.
- Brick: You can either set the bricks flat on the ground, or upright at an angle. To ensure the bricks stay in place, you can use soil and gravel to surround them.
Step 4: Add Crushed Stone

You can now line the bottom of the trench with around 10cm of hardcore crushed stone. This crushed stone will go on top of the compacted soil from one of the earlier steps.
Dampen the crushed stone with a garden hose then use either a plate compactor or a sledge hammer to ensure the crushed stone is compacted.
Step 5: Add A Weed Resistant Membrane

Adding a membrane into the base of the trench will prevent gravel from mixing in with the hardcore, as well as prevent weeds from growing through into the gravel.
Step 6: Fill the Path with Gravel

You are now finally ready to add the gravel to your path by shoveling on to the membrane. Stop when the gravel reaches around an inch before the top of the edging.
Make sure that the coverage is distributed evenly by using a rake.
Gravel Path Maintenance
Although a gravel path is very low maintenance, there are still a number of maintenance tips you can follow to ensure your gravel path has a long lasting life.
- It’s a good idea to maintain an even surface by raking the aggregates as regular as possible.
- Fill any pot holes with fresh new gravel, as and when needed. Just make sure to keep some spare gravel available ready fro when you need it.
Frequently Asked Questions
Do You Need A Base For Gravel Path?
A practical gravel path will have people walking on it, and will therefore need a firm and level base.
What Should I Put Down Before Laying Gravel?
As well as hardcore crushed stone, a weed suppressing membrane will also need to be placed in the trench before placing the gravel on top.
What Depth Should A Gravel Path Be?
The depth of a gravel path should be around 10cm to 15cm (4 – 6 inches).

How To Lay A Simple Gravel Path Conclusion
The key to laying a gravel path is planning. Decide where you want your path to go, and check for hidden cables or pipes before you start the digging process.
Mark out the area and make sure you have all of the required tools and materials at hand which will make the overall process easier.
Have you ever had a go at laying a gravel path, or have any tips and tricks that we haven’t shared in this guide. Let us know in the comments section below.
How To Install Concrete Fence Posts
Installing a fence is a big job. But it’s a job that can be done by most people, with the right tools and some instruction.
In this guide, we will teach you how to install concrete fence posts, as well as how to install concrete fence posts on a slope.
We’ll give you tips on how to make the process go smoothly, and show you how to avoid common mistakes.
So whether you’re installing a new fence or replacing old posts, read on for all the information you need!
Why Use Concrete Fence Posts?
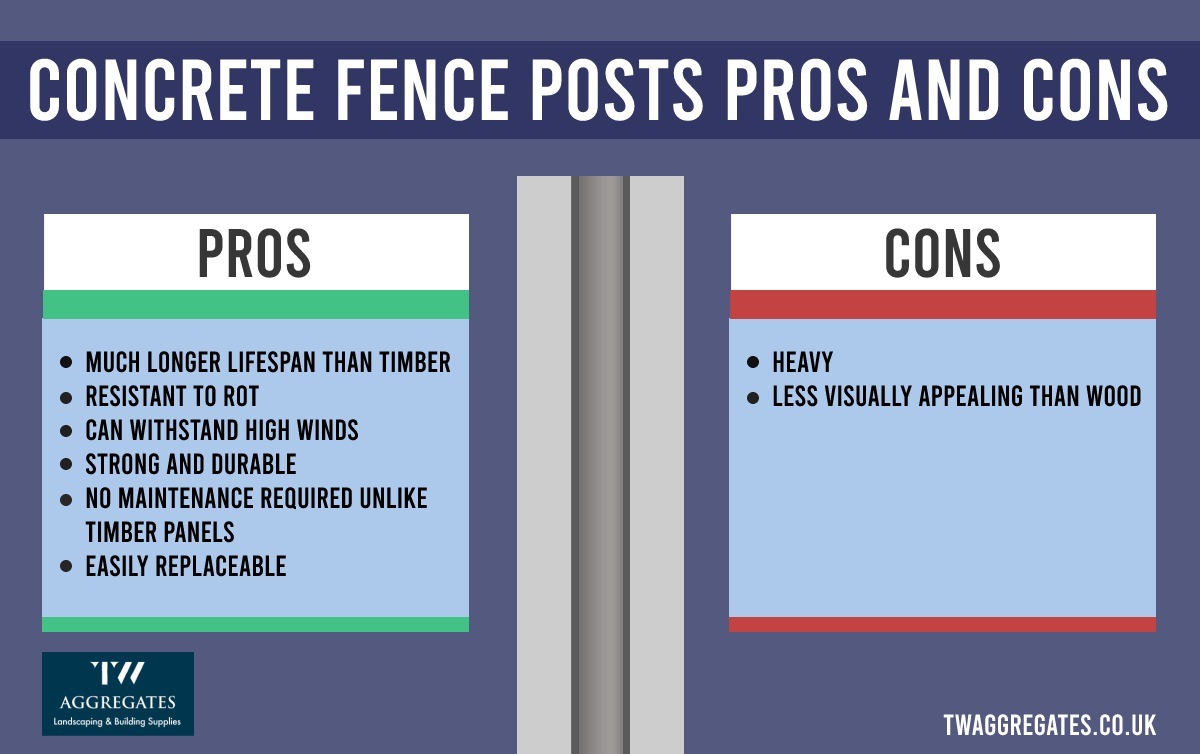
There are many reasons why you should be using concrete fence posts, but let’s take a look at both the pros and the cons.
Pros
- Much longer lifespan than timber
- Resistant to rot
- Can withstand high winds
- Strong and durable
- No maintenance required unlike timber panels
- Slotted concrete posts can be replaced easily if needed
Cons
- Heavy
- Less visually appealing than wood
Different Types Of Concrete Fence Posts
Corner Posts

As the name suggests, corner posts go on the corners of the fence where they hold two fence panels at a right angle.
Slotted Posts

Slotted or intermediate posts sit in the middle of two fence panels where they hold a panel each side.
End Posts

End posts sit on the end of a run and therefore feature only one slot to hold once fence panel.

How To Install Concrete Fence Posts
Safety and Precautions
Before you even start installation process, it’s important to take some safety precautions.
It’s important that you check for any pipes or electrical mains running under the area before you begin the digging process.
Step 1: Find The Correct Position
The first step is to find the correct position of where the posts will go.
This will depend on the size and type of fence you’re installing.
Once you’ve found the correct position, mark out the area with some stakes and string. This will give you a clear guide to follow when you’re ready to start digging.
Step 2: Dig The Hole
The next step is to start with the digging process. A hole for a fence post should be a minimum of 2ft (600mm) and around three times the width of the post.
You will need to keep the depth of the hole in mind when deciding how high you want your fence to be.
For example, if you require the height of the fence to be6ft tall, then 8ft fence posts are required.
This is because the post will be going 2ft into the ground, which means that once you place it in the hole, it will now be 6ft in height.
Step 3: Place The Post In The Hole
You should now place the concrete fence posts into the hole one by one.
The corner or end posts should be inserted first. To ensure that the post is vertically level, make sure to use a spirit level.
Once you have the post level, you can then fill with concrete mix or post fix.
Hold the post in place for a few minutes until you notice that it’s beginning to set.
Step 4: Wait
Before you slot in the fence panels, it’s best to wait 24 hours for the concrete to set.
This will ensure that your fence posts are secure and won’t move when you come to slot in the fence panels.
Step 5: Add The Fence Panels
Make sure to install any gravel boards before sliding in the fence panels.
After you have waited the necessary time, you can then slot in your fence panels.
The fence panels are slotted into the groves that are found on the edges of the concrete fence posts.
How To Install Concrete Fence Posts On A Slope
If you’re installing your concrete fence posts on a slope, then there are a few things that you need to do differently.
Here’s are a few methods on how to do it.
Method 1: Racked Fence
With this option, the fence posts sit perfectly vertical in the ground, whilst the bottoms of the panels are the same distance from the bottom of the ground at all times.
You will also have two different options for the top of the fence.
Slopped Top
Straight Top
Method 2: Stepping Fence
Generally used on a steeper slope, stepping is where you connect 2 fence panels to one post at different heights.
The downside to a stair step fence is the gaps that will appear under each panel. This means that small animals will be able to enter your garden using these gaps.
The solution to this is to use custom cut pickets.
Frequently Asked Questions
How Deep Should A Concrete Fence Post Be?
To ensure you have a stable fence post, a hole of at least 2 foot deep (24in / 600mm) is required and around three times the width of the post.
Should Concrete Fence Posts Be Set In Concrete?
Using concrete with fence posts will produce more long-term results than if you were to use gravel.
How Heavy Is A 8ft Concrete Post?
An 8ft concrete post weighs approximately 44kgs.
How Long Will A Concrete Fence Post Last?
Concrete fence posts are very durable, and will generally last around 20-25 years.
Can Concrete Fence Posts Be Painted?
Yes it is possible to paint concrete fence posts, although it is not as easy as just slapping paint on it. Concrete is a porous substance which means it can absorb paint. Before applying paint, you should clean the concrete using something like a pressure washer.
You should then prime the concrete to help the paint to adhere, and finally paint the concrete with something such as a masonry paint, which is a better choice than just standard fence paint.
Can You Drill Into Concrete Fence Posts
It is possible to drill into concrete fence posts, providing you use the correct tools. An SDS hammer drill is required along with masonry drill bits. The key to successfully drilling into concrete posts is to start with a small drill. For example, start with a 4mm drill bit and gradually work up to 6mm, 8mm, until you reach the required size.

Share this Image On Your Site
How To Install Concrete Fence Posts Conclusion
Concrete fence posts are a great way to add security and privacy to your property while also adding style.
There are many different types of concrete fence posts, so it’s important to choose the right one for your needs.
Installing concrete fence posts is a relatively easy process that can be done by most people.
However, it is important to follow the proper instructions to ensure that your posts are installed correctly.