
How To Lay A Gravel Garden Patio: Step-By-Step Guide
Want to add a beautiful and stylish gravel garden patio to your home? Gravel is one of the most popular patio materials today, and for good reason.
Not only is a very affordable option, but it’s also extremely versatile, easy to maintain and looks great.
In this guide, we’ll show you how to lay a gravel patio step-by-step, so you can create a beautiful backyard oasis that everyone will love.
Interested? Let’s get started!
What is a gravel patio?
A gravel patio is a versatile and stylish way to add extra texture and character to your garden. It’s also a great option if you want to create an outdoor space that’s both comfortable and elegant.
Outdoor furniture such as table and chairs, as well as barbeques and fire pits can be placed on a gravel patio. Gravel patios can also be attached or detached from a home, which gives you flexible placement options.
Gravel Patio Pros And Cons
Pros
There are many benefits to having a gravel garden patio. Let’s take a look:
- Low-Maintenance: You don’t have to water them, fertilize them, or mow them.
- Affordable/Inexpensive: Gravel is relatively cheap in comparison to other kinds of building materials, which means you can build one on a budget. It’s also something that you can lay yourself which means you can also save money that you would of spent on a professional landscaper.
- Versatile: You can create many different unique looks in your garden due to the variety of shapes and colours available when it comes to gravel.
- Durable and Long-Lasting: Gravel gardens are resistant to weathering and pests, making them a long-lasting option.
- Attractive: They’re aesthetically pleasing and come in a variety of colors and styles.
- Drainage: Gravel provides natural drainage which means you will have a puddle free area.
Cons
- Not Furniture Friendly: Although people do have garden furniture on gravel patios, it is not the ideal kind of surface. Furniture is known for sinking and being unstable, even when laying a firm foundation.
- Sinking: Over time the surface can become absorbed by the soil underneath. This means that the gravel will need to be replenished each year.
What You’ll Need
Equipment/Tools
To lay a gravel garden patio, you’ll need the following equipment:
- Level
- Garden hose/string & wooden stakes for marking out the gravel patio area
- Marking paint
- Edging
- Rake
- Shovel
- Wheelbarrow or container
- Measuring tape
Materials
You will also need the following materials:
- Gravel / Decorative gravel
- Weed prevention membrane fabric
- MOT Type 1
How To Lay a Gravel Garden Patio
Step 1: Patio Size and Location
Before you begin laying the gravel, first make sure to select a patio space that’s large enough for your desired layout. You’ll also want to take into account any obstructions or other elements that will need to be incorporated into your garden path – these could include plants, boulders, or stepping stones.
Another important factor to be aware of is how steep the area is. If the area is too steep, certain gravels can easily move due to foot traffic, as well as heavy water potentially washing the gravel away.
Step 2: Order Your Gravel
Ordering gravel is extremely easy. Here at TW Aggregates we provide a number of different gravels and decorative aggregates in a variety of colours that you can use for your patio.
How Much Gravel Do You Need?
There’s no one-size-fits-all answer to this question, as the amount of gravel you need will depend on the size and shape of the patio you’re creating.
You will need three different measurements:
- Length
- Width
- Depth
You can take these measurements and enter them into our gravel calculator that will tell you exactly how many bags you will need to order.
Step 3: Mark Out The Area
Once you’ve ordered your gravel, it’s time to start marking out the area.
First, use a level to make sure that the surface of the patio is even. Choosing an area as flat and even as possible will make the overall job a lot easier.
Once the area has been chosen, it’s time to start marking out the area where the patio is going to be. There are a number of techniques you can use for this such as marking spray/paint, string, rope, or even a garden hose if that’s all you have available.
Step 4: Dig the area for your gravel patio
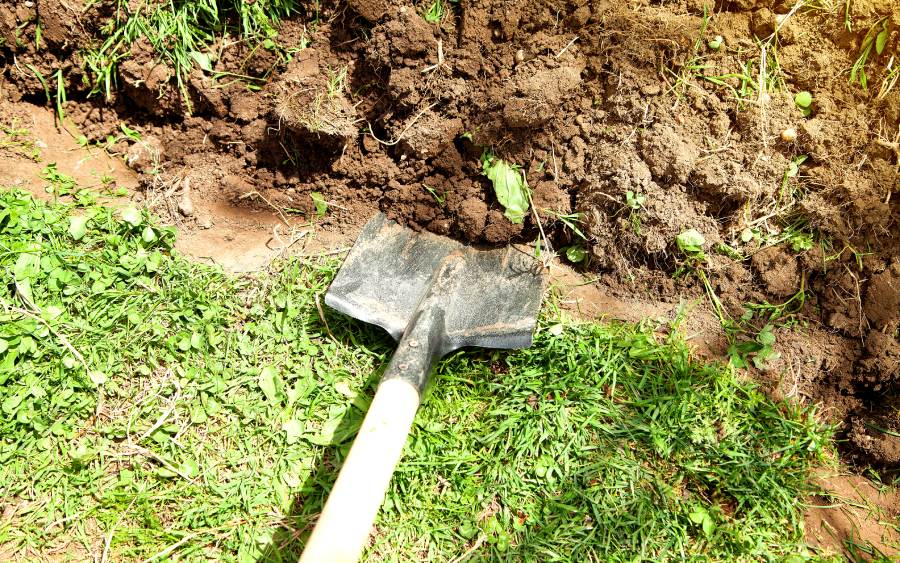
Once you have marked out the entire area, it is now time to start digging. You can start this off by removing any grass that is in the area. Simply use a straight edged shovel to cut away the turf along the marked area that you created in the previous step.
Dig to a depth of at least 5 inches, removing any topsoil to ensure you have enough depth to lay a sub-layer which will create extra stability for the patio.
Step 5: Install Edging
Edging is an important aspect because it helps to keep the loose gravel in place and prevent it from spilling out of the patio area.
When it comes to the type of edging or border, there are a number of options available:
- Stone
- Bricks
- Timber
- Plastic
- Metal
- Rubber
- Bamboo
The choice will depend on what kind of look or feel you want for your patio and how well it will fit in with the rest of the design in your garden.
Step 6: Patio Sub Base
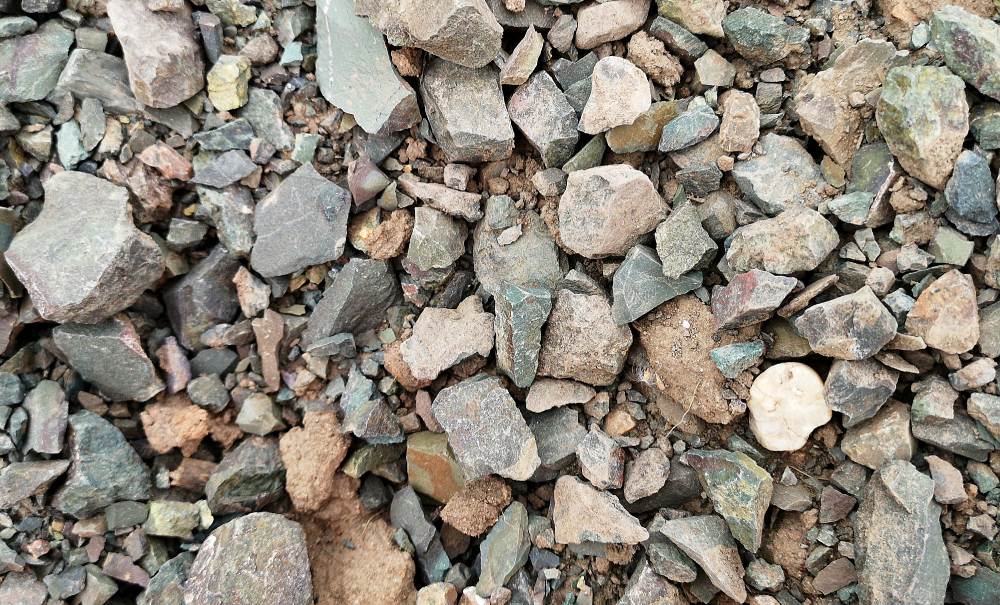
A patio sub base is not required, but it will add more stability to the patio if you know it is going to receive a lot of foot traffic, or if you plan on having a lot of garden furniture.
The best material to use for this is MOT Type 1, which is sized from 40mm, all the way down to dust and is ideal for drives, construction jobs, ponds, and patios. It compacts down extremely well which creates a solid foundation.
Spread the MOT Type 1 evenly across the base, and at a depth of around 4 inches. This ensures that you have enough space for your gravel to go on top.
Step 7: Add a Weed-Resistant Membrane
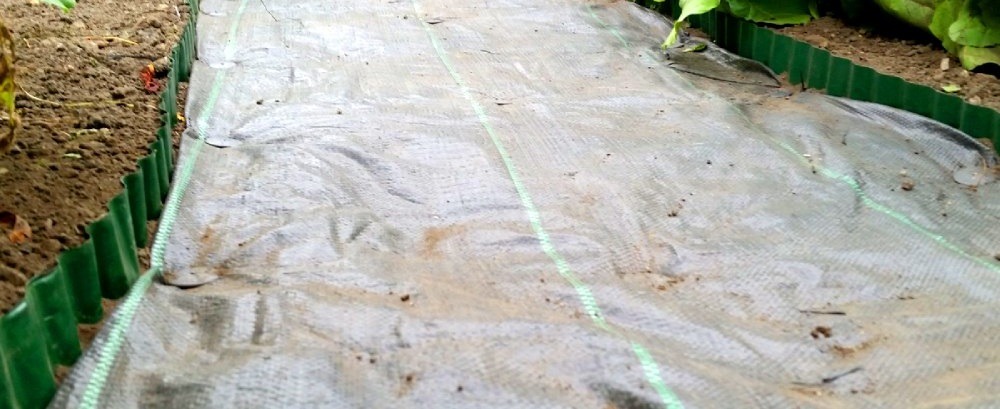
Before we add the gravel, it’s a good idea to add a weed-resistant membrane on top of the MOT Type 1 that you placed down in the previous step. This will prevent unwanted plants and weeds from growing in between the gravel.
It also stops the gravel from mixing with the material underneath, as well as improving drainage.
There are several types of membranes available on the market – so you can find one that best suits your needs. Just be sure to read the manufacturer’s instructions before installing them.
Step 8: Add Your Gravel
The final step is to add the gravel of your choice on top of the weed membrane. Ensure that it is evenly spread across the entire area using a rake.
The other tools that will come in handy for this step are the wheelbarrow that will be loaded with gravel, and a shovel for moving the gravel into the patio area.
Just be careful that you do not tear the weed membrane when doing this step.
How To Lay A Gravel Garden Patio Conclusion
Lay a gravel garden patio with the help of these steps and you are all set to have a beautiful outdoor space.
Read through the guide carefully, keep all the tips mentioned above in mind, and get started in making your dream patio come true!
Have you successfully created your own gravel garden patio? Let us know how you got on with the process in the comments section below.