
The Ultimate Guide To Laying a Gravel Garden Patio [Expert Tips]
In this comprehensive article, we will delve into a guide to laying a gravel garden patio.
Patios have become more than just a functional space in outdoor design; they have evolved into havens of relaxation and entertainment.
One popular option gaining momentum is the gravel garden patio. With its versatility and low-maintenance nature, a gravel patio can transform your outdoor space into a stunning retreat.
In this comprehensive guide, we will walk you through the step-by-step process of creating a beautiful and functional gravel garden patio that will enhance the aesthetics of your landscape.
With the right planning, preparation, and installation techniques, you can lay a gravel garden patio that not only enhances your outdoor living experience but also increases the value of your property.
Join us as we delve into the world of gravel garden patios, providing you with expert advice, valuable tips, and creative ideas to help you design and construct a patio that perfectly suits your style and needs.
Planning your Gravel Garden Patio
Assessing your space
Before diving into the process of laying a gravel garden patio, it’s crucial to assess your outdoor space and envision the patio of your dreams.
Consider the size and shape you desire, taking into account the available area and how it fits within your overall landscape design.
Think about how the patio will complement existing elements such as trees, shrubs, or flower beds. Additionally, evaluate any functional requirements you have in mind, such as seating areas or pathways, to ensure a well-utilized space.
Selecting the gravel type
The type of gravel you choose plays a significant role in the overall appearance and functionality of your patio. There are various options to consider, including pea gravel, crushed stone, or angular gravel.
Pea gravel is popular for its smooth texture and natural appearance, while crushed stone offers a more textured and rustic look. Angular gravel provides excellent stability and is ideal for high-traffic areas.
When selecting your gravel, weigh the pros and cons of each option, considering factors like aesthetics, durability, ease of maintenance, and your specific preferences.
Additionally, consider the size of the gravel, as it affects both the visual appeal and the patio’s comfort underfoot.
How To Lay a Gravel Garden Patio
Preparing the Site for your Gravel Patio
Clearing the area
Before you can start building your gravel garden patio, it’s important to prepare the site by clearing away any existing vegetation, weeds, and debris.
- Begin by removing any plants, shrubs, or grass within the designated patio area.
- Use a garden spade or shovel to dig them out, ensuring you remove their roots as well.
- To tackle persistent weeds, you may opt to use herbicides, but be sure to follow the instructions carefully and consider environmentally friendly alternatives if desired.
Taking the time to clear the area thoroughly ensures a clean and stable foundation for your gravel patio. By eliminating unwanted plants and debris, you create a blank canvas for your new outdoor space to flourish.
Marking the patio boundaries
To achieve a well-defined and aesthetically pleasing patio, it’s essential to mark the boundaries before proceeding with the installation.
One effective method is to use stakes and string or garden hoses to outline the desired shape and size of the patio. This step helps you visualize the space and make any necessary adjustments before digging.
Take care to ensure the lines are straight and accurately represent the shape you desire. This meticulous process guarantees that your gravel garden patio will have a professional and polished appearance once completed.
Creating a Solid Foundation
A. Excavating the area
Creating a solid foundation is crucial for the long-term stability and functionality of your gravel garden patio.
Begin by excavating the designated patio area to an appropriate depth, considering factors such as the thickness of the gravel layer and the existing soil conditions.
It’s generally recommended to excavate to a depth of around 4-6 inches to accommodate both the gravel and necessary base layers.
While digging, pay attention to the slope and drainage of the area. Ensure that the excavation allows for proper water runoff, preventing potential pooling or water damage on your patio.
Remember, a well-drained foundation promotes the longevity of your patio and helps maintain its pristine condition.
B. Installing landscape fabric
Once the area is excavated, it’s time to install landscape fabric. This step plays a vital role in preventing weed growth and maintaining the stability of your gravel patio.
- Roll out the landscape fabric over the excavated area, ensuring it covers the entire patio space.
- It’s crucial to overlap the fabric sheets to eliminate any potential gaps that weeds could exploit.
- Secure the landscape fabric in place using landscape fabric pins or staples, ensuring it remains taut and flat. This barrier acts as a protective shield, preventing weeds from infiltrating your patio and simplifying future maintenance efforts.
With the landscape fabric in position, you’re now ready to move on to the exciting part: installing the gravel!
Installing the Gravel
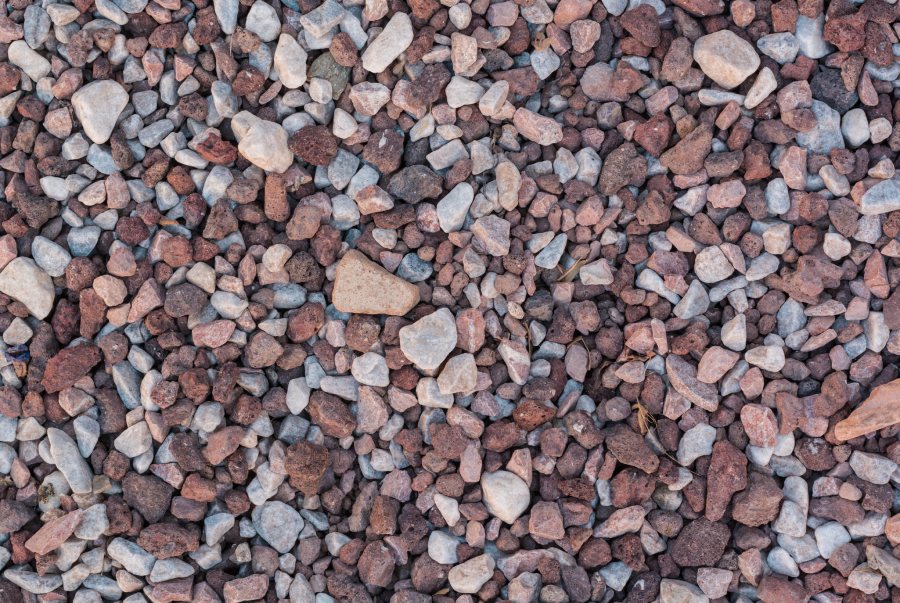
A. Adding a layer of gravel
With the foundation prepared, it’s time to add the first layer of gravel to your patio.
- Start by spreading a generous amount of gravel evenly across the landscape fabric.
- Use a rake or shovel to distribute the gravel, ensuring a consistent thickness throughout the patio area.
- As you work, pay attention to achieving an even surface, smoothing out any uneven patches or bumps.
Take the time to step back and assess the progress, making adjustments as needed to achieve the desired levelness and aesthetic appeal.
This initial layer sets the stage for the rest of the installation, so be meticulous in your efforts.
B. Compact the gravel
To ensure a firm and stable surface, it’s essential to compact the gravel.
This step helps to eliminate any voids or loose areas within the patio, creating a solid foundation for walking or placing furniture.
- Utilize a tamper or vibrating plate compactor to exert pressure on the gravel, compacting it firmly.
- Remember to work systematically across the entire patio area, paying extra attention to high-traffic sections.
By compacting the gravel, you enhance its durability and prevent shifting or displacement over time.
This not only contributes to the longevity of your gravel garden patio but also enhances the overall aesthetic and functionality.
Finishing Touches and Maintenance
A. Edging the patio
To give your gravel garden patio a clean and defined look, it’s important to edge the perimeter.
Edging not only adds a touch of elegance but also helps to contain the gravel within the designated area.
You can choose from various edging materials such as bricks, pavers, or even natural stones that complement the overall style of your patio.
- Carefully place the edging material along the outer boundaries of your patio, ensuring a secure and level installation.
- Use a rubber mallet or a hammer with a scrap piece of wood to gently tap the edging into the ground.
This will help anchor it firmly and create a clear separation between the patio and the surrounding landscape.
B. Adding decorative elements
To truly personalize your gravel garden patio and create an inviting atmosphere, consider adding decorative elements.
Introduce plants, such as colourful flowers or lush greenery, to bring life and vibrancy to the space. Choose plant varieties that thrive in your climate and require minimal maintenance.
Additionally, incorporate outdoor furniture and accessories that suit your desired functionality.
Whether you envision cosy seating areas, a dining space, or a hammock for relaxation, select furniture pieces that align with your patio’s style and accommodate your needs.
Don’t forget to consider lighting options as well, such as string lights or solar-powered lanterns, to enhance the ambiance and extend the usability of your patio into the evening hours.
C. Regular maintenance
To ensure the long-term beauty and functionality of your gravel garden patio, regular maintenance is key.
- Rake The Gravel: Periodically rake the gravel to even out any uneven areas and maintain a smooth surface. This will help prevent the accumulation of debris and keep your patio looking pristine.
- Weeds: Weeds may occasionally make an appearance, despite the landscape fabric. Take the time to hand-weed any unwanted growth, being careful not to disturb the fabric or the gravel.
- Herbicides: If needed, you can also use herbicides sparingly and selectively to target persistent weeds, but always follow the instructions and exercise caution to protect the surrounding plants and environment.
By dedicating some time to maintenance, you can enjoy your gravel garden patio in all its splendour and extend its lifespan for years to come.
Guide To Laying a Gravel Garden Patio Conclusion
Congratulations on completing your journey to create a stunning gravel garden patio!
By following this comprehensive guide, you have acquired the knowledge and skills necessary to transform your outdoor space into a captivating retreat.
From planning and preparation to installation and finishing touches, you have learned the essential steps to lay a gravel patio with expertise.
Remember, your gravel garden patio offers endless possibilities for relaxation, entertainment, and personal expression.
Embrace its low-maintenance nature and the versatility it brings to your outdoor design.