What Type of Cement Do I Need? [Choosing The Right Cement]
When it comes to landscaping, choosing the right cement can make or break your project.
Whether you’re crafting a stunning garden pathway, constructing a sturdy retaining wall, or adding decorative elements to your outdoor space, the cement you select plays a pivotal role in the outcome.
Picture this: You’ve spent hours planning, measuring, and envisioning your dream landscape.
You’re ready to bring your vision to life. But wait, have you considered which cement is the perfect match for your project? Don’t worry; we’ve got you covered.
In this comprehensive guide, we’ll navigate the diverse world of cement options, helping you decipher which type is tailor-made for your landscaping needs.
Gone are the days of guesswork and uncertainty. By the end of this journey, you’ll be armed with the knowledge to confidently choose the right cement, ensuring your landscaping project stands the test of time. Let’s get started!
Understanding Cement Basics
Before we delve into choosing the right cement for your landscaping projects, let’s lay down some solid foundations by understanding the basics of cement.
At its core, cement is the glue that holds your landscaping dreams together. It’s the unsung hero of outdoor construction, responsible for binding various materials into a durable, cohesive structure. Now, let’s break it down:
What is Cement?
- Cement is a fine, powdery substance made primarily from limestone, clay, and other minerals.
- When mixed with water, it undergoes a chemical transformation, becoming a paste that hardens over time.
The Role of Cement in Landscaping
- In landscaping, cement is used as a binding agent in a wide range of applications.
- It’s the key ingredient in concrete, mortar, and grout, essential for building structures like pathways, walls, and decorative elements.
Key Components of Cement
- Portland Cement: This is the most commonly used type of cement in landscaping. It’s known for its versatility and strength. Think of it as the all-purpose workhorse of the cement world.
- Aggregates: These are the gritty bits mixed into cement, typically sand and gravel. They add bulk and strength to the final concrete mixture.
- Water: The magic ingredient that initiates the chemical reaction in cement, causing it to harden and set.
The Chemical Reaction
- When water is added to cement, it triggers a process called hydration.
- During hydration, the cement particles bind with water molecules, forming crystals that interlock and solidify over time.
Curing and Strength
- Proper curing (maintaining moisture) is crucial for cement to achieve its maximum strength.
- It’s important to note that cement continues to harden and gain strength for an extended period, even after it appears to be fully set.
Understanding these fundamental concepts will serve as a solid foundation as we explore the world of cement types and how to choose the right one for your landscaping masterpiece.
What Type of Cement Do I Need?
General Purpose Cement
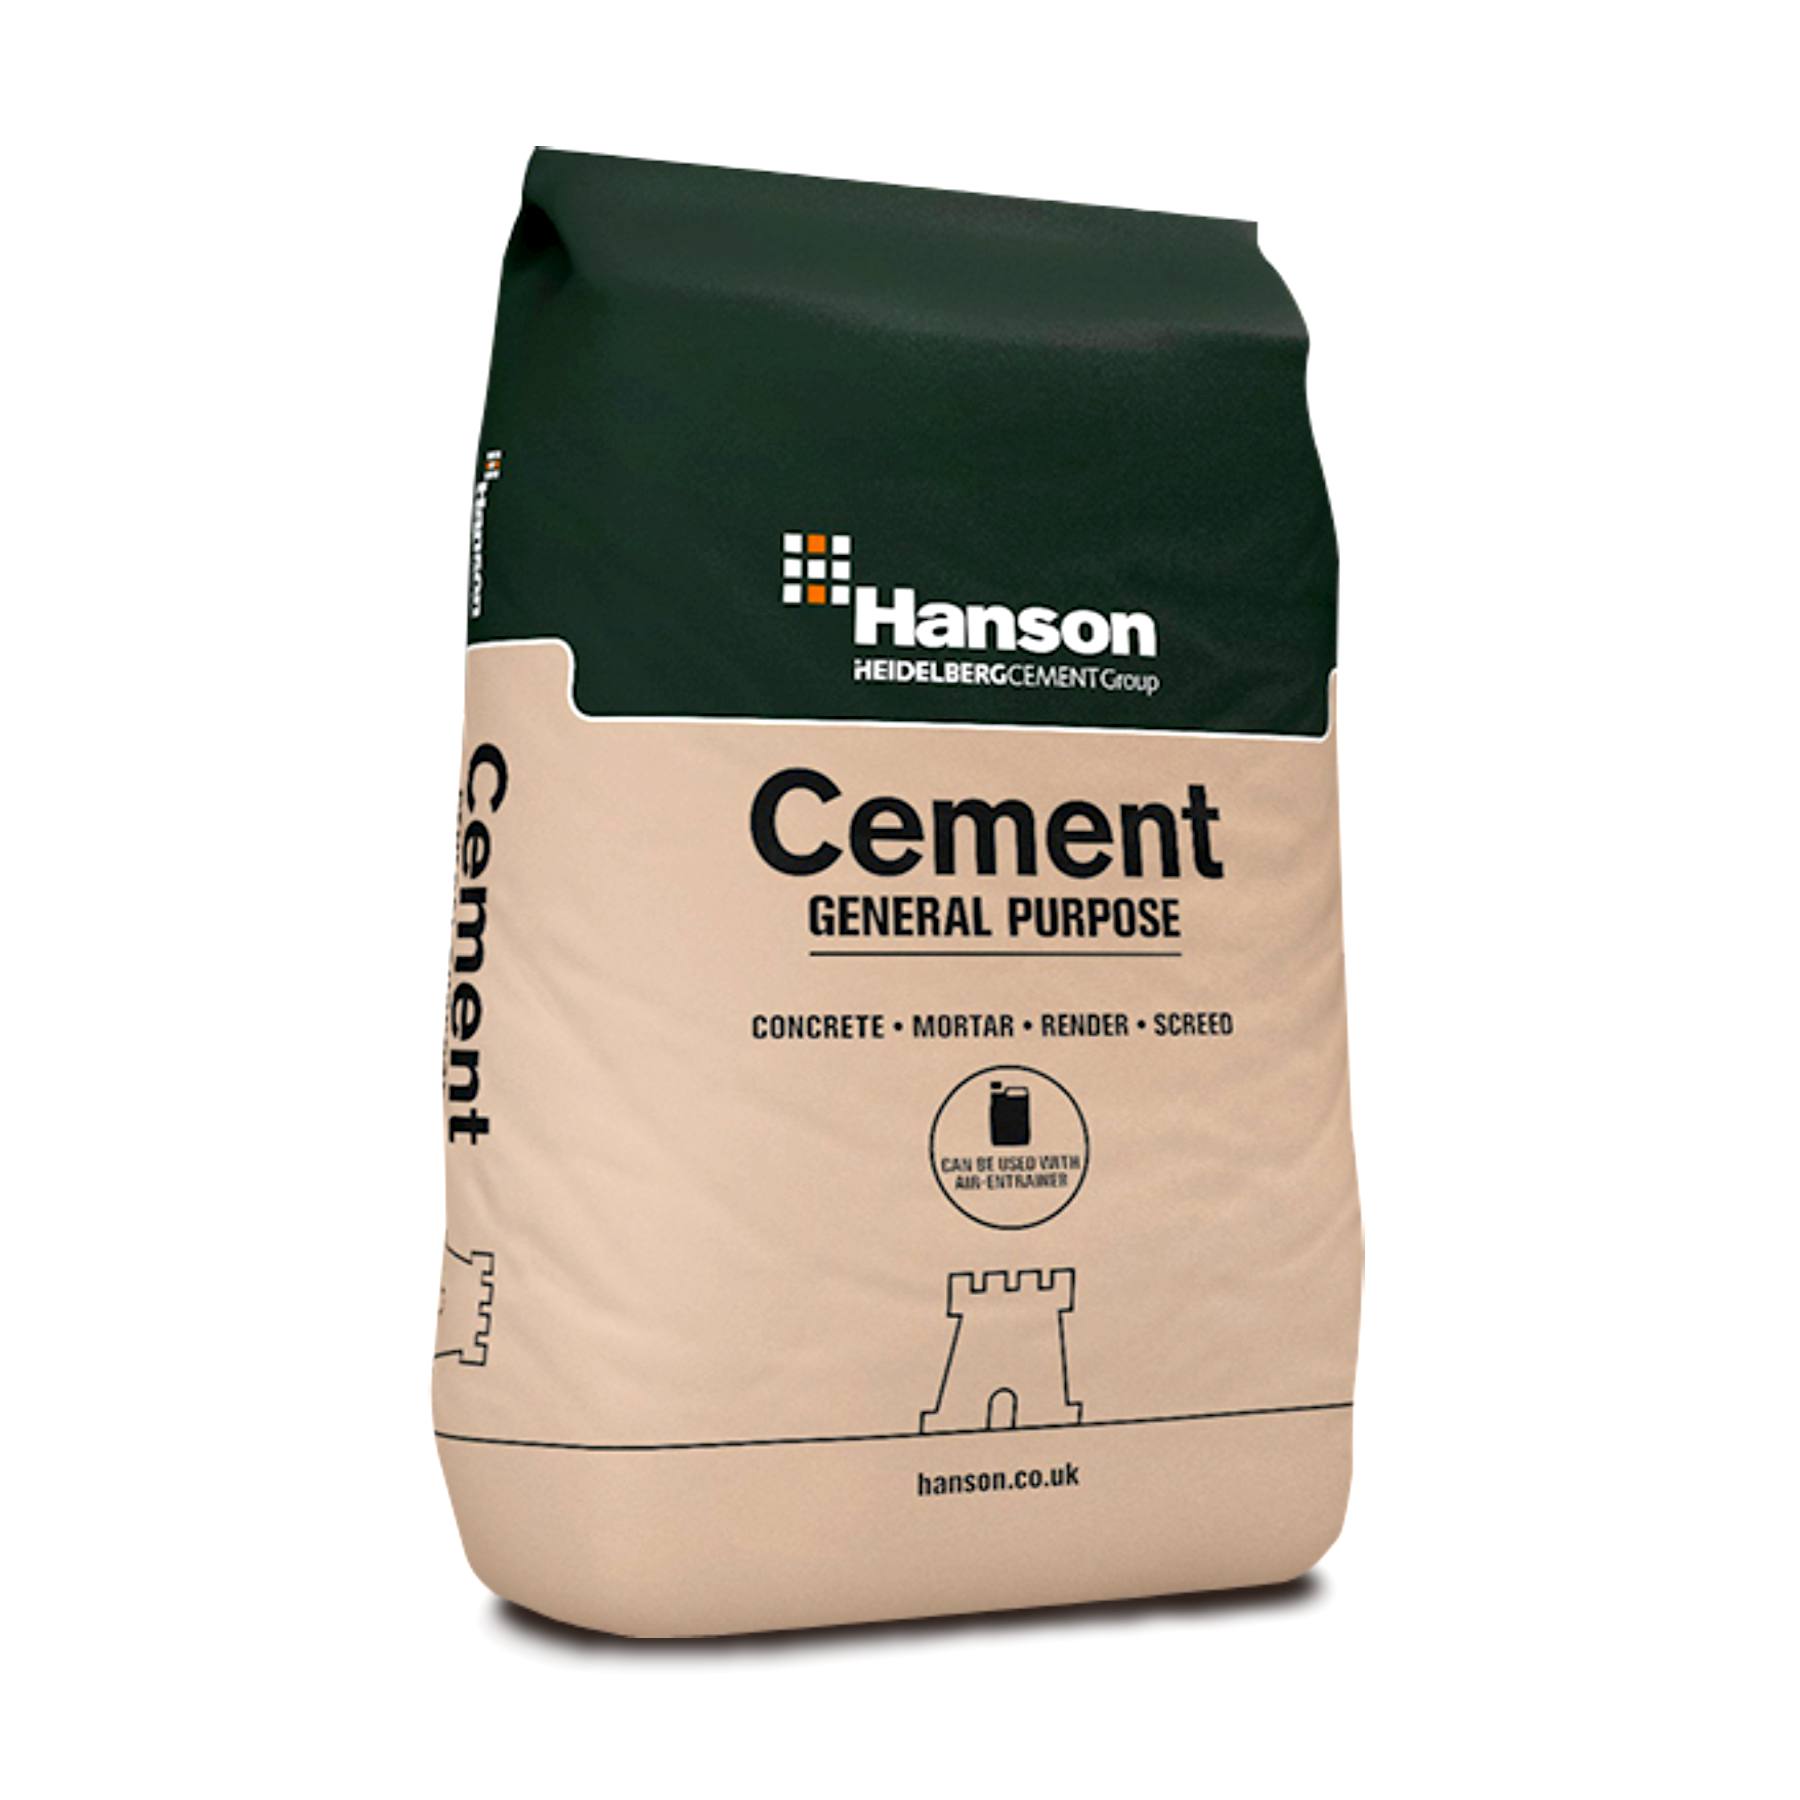
Let’s explore a true multitasker in the world of landscaping and construction – General Purpose Cement.
This versatile cement is a favourite among DIY enthusiasts and professionals alike for several compelling reasons:
1. Versatility Unleashed
- General Purpose Cement lives up to its name by being, well, general and purposeful!
- Whether you’re tackling a minor DIY task or embarking on a substantial landscaping project, this cement is up for the challenge.
2. All-Star Applications
- It’s your go-to choice for a variety of applications, including concrete, mortar, render, and screed.
- Need to lay down a solid foundation for your garden path or create a robust retaining wall? General Purpose Cement has got your back.
3. Compatibility Galore
- What’s even more impressive is its compatibility with a wide range of admixtures and additions.
- This means you can fine-tune your mix to meet specific project requirements, adding strength or flexibility as needed.
4. DIY Friendly
- For DIY enthusiasts, General Purpose Cement is a reliable companion.
- Its ease of use and availability at most hardware stores make it accessible to anyone ready to roll up their sleeves and get creative with landscaping.
5. A Solid Foundation
- When using General Purpose Cement, you’re laying the groundwork for durability and longevity in your landscaping endeavours.
- It’s a solid choice to ensure your outdoor projects stand the test of time.
In the world of landscaping, having a cement that can adapt to the unique demands of your project is invaluable.
Whether you’re crafting something small or embarking on a grand-scale vision, General Purpose Cement is a dependable partner, offering flexibility and reliability.
Click here to order our general purpose cement.
Post Fix
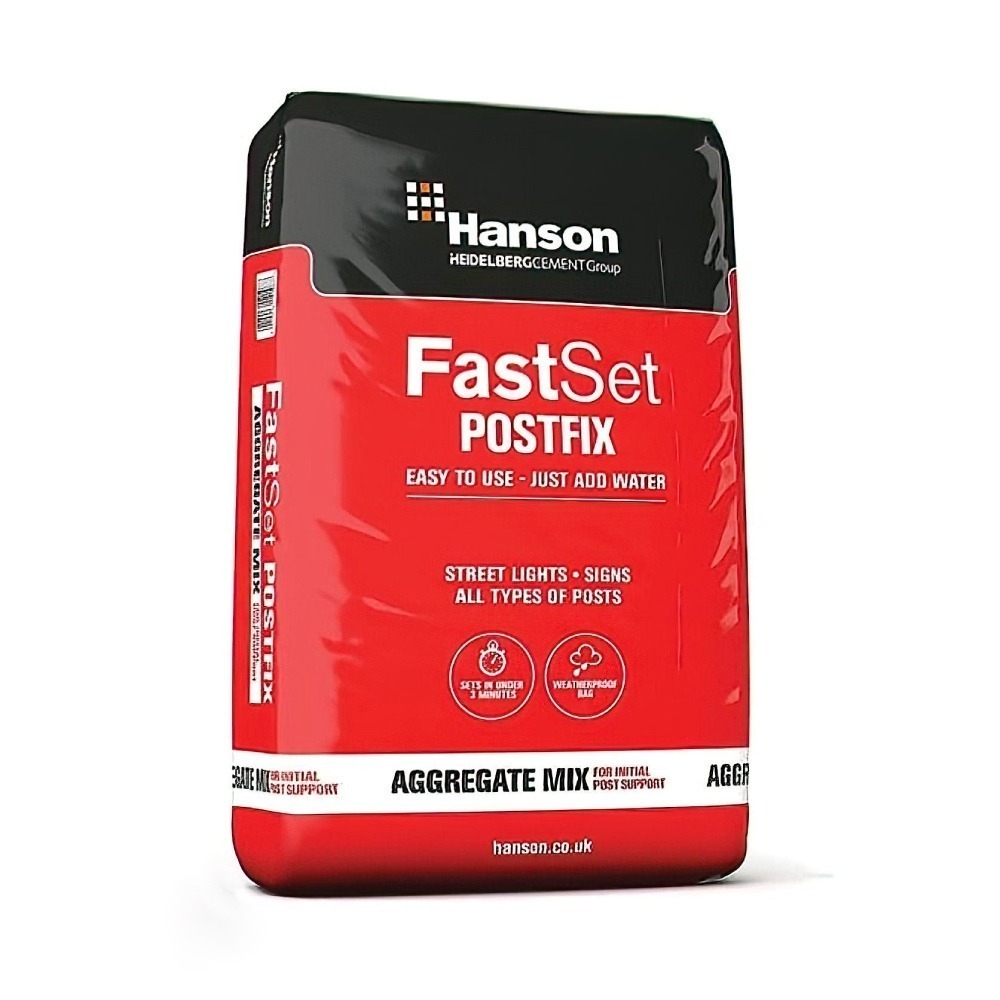
In the world of landscaping and outdoor construction, sometimes speed is of the essence, and that’s where Post Fix cement steps into the spotlight.
1. Swift Solution
- Post Fix is your ace in the hole when you need to set gate posts, fence posts, garden lighting, or pergolas in a flash.
- What sets it apart? It boasts a rapid-setting formula that kicks into gear in under 3 minutes.
2. Easy as 1-2-3
- Using Post Fix is a breeze. Simply add water, and you’re good to go.
- This user-friendly approach makes it an ideal choice for both DIY enthusiasts and seasoned tradesmen.
3. The Need for Speed
- Why opt for Post Fix? Sometimes, your landscaping project requires a quick turnaround, and this product delivers just that.
- Whether you’re securing a new gate, adding garden lighting, or constructing a pergola for that outdoor oasis, this cement has your back.
4. Durability Assured
- Don’t let its speedy nature fool you; Post Fix doesn’t compromise on durability.
- Once set, it provides a solid foundation for your outdoor fixtures, ensuring they stand tall and strong.
When time is of the essence in your landscaping project, Post Fix cement is your secret weapon. It’s the swift, reliable solution that empowers you to complete your outdoor tasks efficiently without sacrificing quality.
Click here to order our post fix.
Multicem
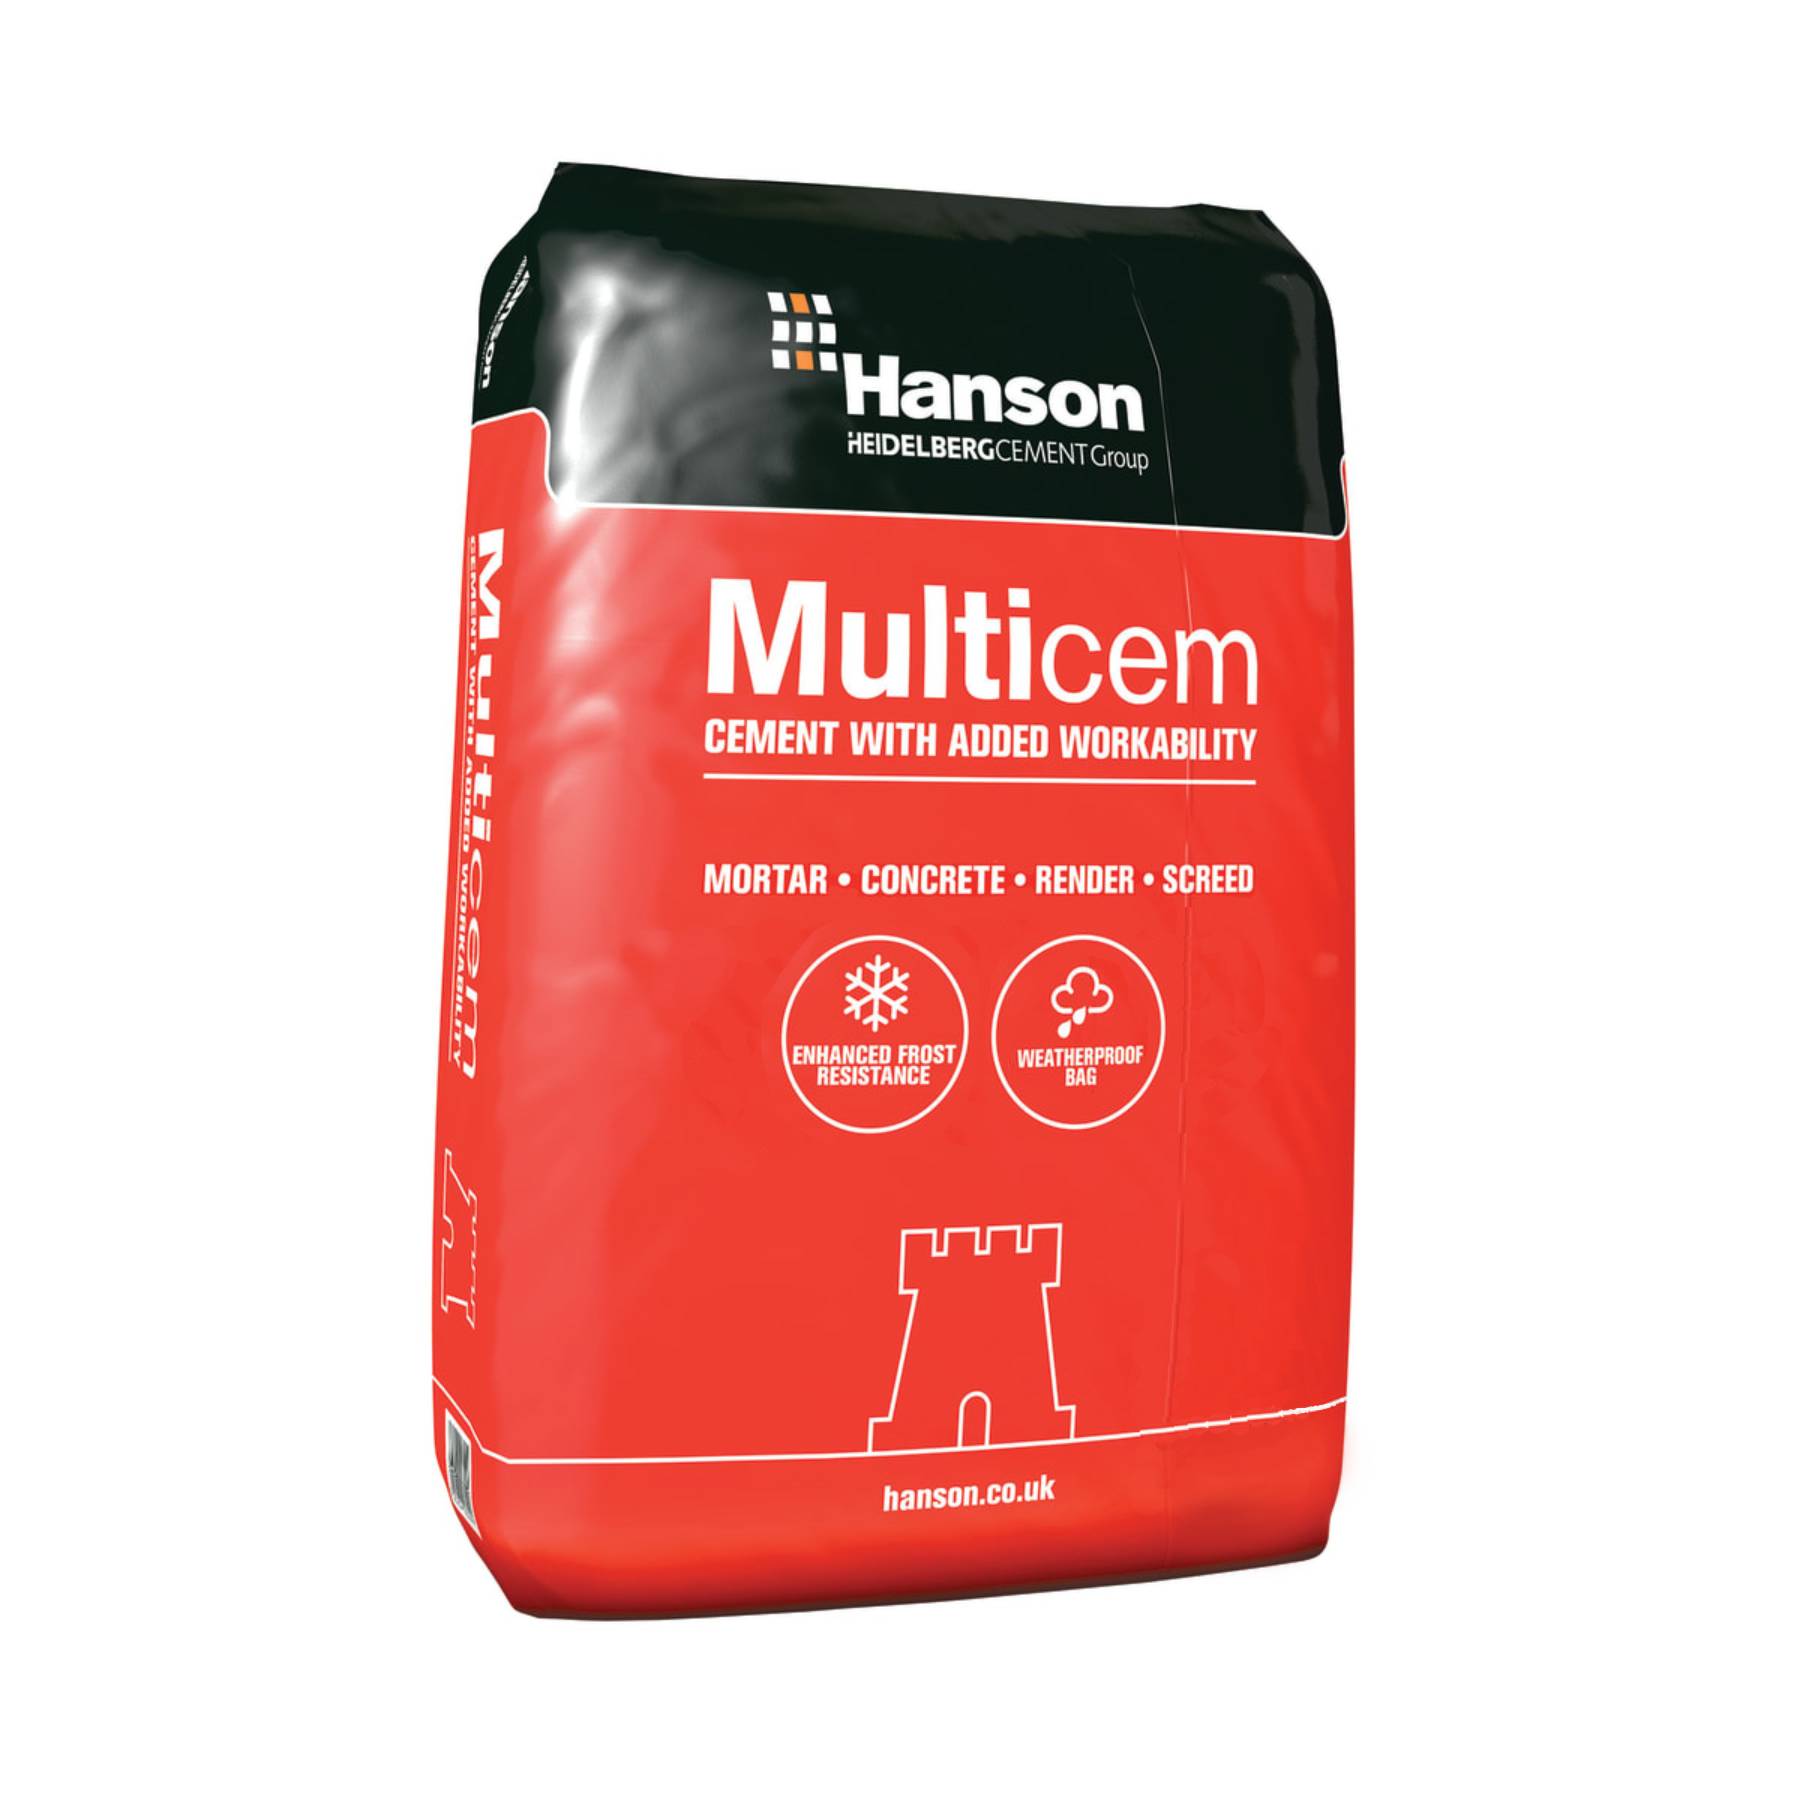
Now, let’s uncover the versatility and benefits of Multicem, a high-performance cement that’s making waves in the world of landscaping and outdoor construction.
1. Unmatched Performance
- Multicem is a top-tier choice for various landscaping applications, including mortar, concrete, render, and screed.
- What sets it apart is its high-performance capabilities, which make it a reliable pick for demanding projects.
2. Frost Resistance
- One of the standout features of Multicem is its enhanced frost resistance.
- This makes it a go-to option for landscaping projects in regions with harsh winters, ensuring your structures endure the coldest of temperatures.
3. Improved Workability
- Multicem isn’t just about strength; it also offers improved workability.
- This means smoother mixing and application, making your landscaping tasks more manageable.
4. Air Entrainment
- What makes Multicem truly remarkable is its specially selected additive that entrains air.
- This enhances the durability and resilience of your landscaping projects, especially when they’re exposed to the elements.
Whether you’re crafting a robust concrete pathway, rendering a garden wall, or working on a screed for your outdoor space, Multicem is the high-performance cement that can take your landscaping projects to the next level.
Its ability to withstand frost, improve workability, and entrain air sets it apart as a reliable choice for a wide range of outdoor applications.
Click here to order our multicem cement.
Frequently Asked Questions
What is the difference between cement and concrete?
Cement is a binding agent used to make concrete. Concrete is a mixture of cement, water, and aggregates like sand and gravel. Check out our full guide here for more information.
How do I determine the right type of cement for my project?
Consider factors like project requirements, environmental conditions, and the type of structure. Consult with a professional if needed.
Can I use any cement for all construction projects?
No, different projects require different types of cement. Choose based on the specific needs of your construction, such as strength, durability, or resistance.
Is there a difference between mortar and cement?
Yes, cement is an ingredient in mortar. Mortar is a mixture of cement, sand, and water used for bonding bricks, stones, or tiles.
Can I mix different types of cement together?
It’s not recommended. Mixing different types of cement can affect the overall strength and performance of the concrete.
How can I enhance the durability of my concrete?
Use quality materials, proper proportions, and follow recommended curing practices. Consider additives for specific enhancements.
What is the curing process for concrete, and why is it important?
Curing is the process of maintaining moisture and temperature for a specified time after placing concrete. It enhances strength and durability.
Can I use concrete in cold weather?
Yes, but consider using special types of cement designed for cold weather conditions and follow proper cold-weather concreting practices.
Choosing The Right Cement Conclusion
Choosing the Right Cement is truly the cornerstone of success when it comes to your project.
Whether you’re a DIY enthusiast or a seasoned pro, remember that your choice of cement plays a pivotal role in the longevity and aesthetics of your outdoor endeavours.
By considering project specifics, local climate factors, and your budget, you can make an informed decision.
This journey doesn’t end here; the world of landscaping is brimming with creativity and endless possibilities.
Thank you for embarking on this cement-centric adventure with us. Happy landscaping!
How To Lay Slate Chippings
Today, we’re delving into the captivating realm of “How to Lay Slate Chippings,” where nature’s rugged elegance meets your creative vision.
Imagine pathways and garden beds adorned with the timeless charm of slate, each chipping a brushstroke that adds depth and character to your outdoor canvas.
Slate chippings, versatile and visually striking, hold the key to transforming ordinary spaces into extraordinary havens.
This guide will navigate you through the steps of selecting the right size chippings, orchestrating their arrangement, and bringing a touch of elegance to your landscape.
As we delve into the details, keep in mind that laying slate chippings is a blend of art and technique.
Whether you’re curating a pathway, revamping your driveway, or enhancing garden beds, this guide equips you with the know-how to infuse your surroundings with beauty and functionality.
Let’s jump straight in!
How To Lay Slate Chippings Summary
Step 1: Choose Chippings Select the perfect colour and size of slate chippings to set the stage for your project.
Step 2: Calculate Quantity Use our gravel calculator for precise measurements, ensuring an efficient installation.
Step 3: Mark Your Area Outline the designated space, providing a clear guide for the transformation ahead.
Step 4: Excavate & Prepare Dig out the area, adding stability with Type 1 MOT and a weed prevention membrane.
Step 5: Lay Chippings Carefully place slate chippings at 4-5cm depth, evenly spreading them for a stunning result.
The upcoming sections of this extensive guide will delve deeply into each aspect, leaving no stone unturned.
Essential Tools
When it comes to laying slate chippings, a well-equipped arsenal is your gateway to an enchanting garden landscape.
Here’s a curated selection of tools that shall accompany you on this journey:
- Gardening Gloves: Your trusty companions, shielding your hands from the earth’s embrace, allowing you to work with comfort and precision. Choose gloves that fit like a second skin, providing dexterity without compromising protection.
- Wheelbarrow: A garden’s faithful steed, transporting your slate chippings with ease across your outdoor canvas. Seek a sturdy wheelbarrow that can handle the weight and volume of your chosen chippings.
- Rake: The maestro of levelling, a rake ensures an even distribution of chippings, creating a seamless tapestry of textures. Opt for one with sturdy tines to effortlessly sculpt your design.
- Shovel: A versatile workhorse, the shovel aids in excavating, lifting, and moving earth. Whether you’re clearing the canvas or spreading chippings, a dependable shovel is a must-have.
- Landscape Fabric: A guardian against unruly weeds, landscape fabric acts as your silent sentinel, preserving the integrity of your design. Lay it down like a protective embrace, ensuring no unwanted intruders tarnish your masterpiece.
- Landscape Fabric Pins: The anchors that secure your guardian in place, preventing it from being swayed by the winds of time. These pins ensure your landscape fabric stands strong against the forces of nature.
- Chipping Fork: For those intricate touch-ups and precision adjustments, a chipping fork is your artist’s brush. It allows you to finesse your arrangement, coaxing every chipping into its perfect place.
- Measuring Tape: A tool of accuracy and meticulousness, a measuring tape ensures your calculations are precise, helping you determine the optimal amount of chippings for your masterpiece.
- Kneeling Pad: A cushion for your knees, providing respite as you kneel upon the earth to finesse every detail. Ensure comfort and longevity during your creative process.
- Bucket or Scoop: A vessel for measured elegance, a bucket or scoop aids in transporting chippings precisely, allowing you to fill gaps and niches with the grace of an artist’s stroke.
- Safety Glasses: The guardians of your vision, protecting your eyes from potential debris as you sculpt and arrange. Safety is paramount, after all.
- Broom or Brush: The final touches to your masterpiece, a broom or brush sweeps away any loose debris, presenting a polished and inviting landscape to all who behold.
How To Lay Slate Chippings: Step-By-Step
Step 1: Choosing Slate Chippings
Before diving into your slate garden project, it’s vital to determine the colour and size of slate chippings that will best suit your garden environment. Slate chippings come in various sizes.
Here at TW Aggregates we have 20mm and 40 variations in our decorative aggregates such as grey slate, blue slate, plum slate, and golden gravel.
If your goal is to create an appealing slate path in your garden, the 20mm slate chippings are an excellent choice.
Their flatter texture ensures a more comfortable walking surface compared to larger chippings.
On the other hand, if you’re looking to cover the ground or enhance areas around ponds, the larger 40mm slate chippings offer a chunkier texture that adds an attractive, open-textured finish.
In essence, your selection of slate chipping size depends on your project’s purpose and your desired visual impact. By picking the right size, you’re laying the groundwork for a stunning garden transformation.
Step 2: Calculate How Much Slate You Need
Now that you’re delving deeper into the realm of slate chippings, it’s time to tackle a fundamental task – calculating the exact quantity required for your project.
No more puzzling over quantities! We’ve streamlined the process with a handy slate calculator designed to provide you with accurate bag estimates.
Take the uncertainty out of the equation by inputting the width and depth of your desired coverage area, and watch our calculator work its magic.
Optimal Depth for Slate Chippings
Determining the ideal depth for your slate chippings is pivotal for a polished end result.
For most garden projects, aiming for a depth of around 4-5cm is recommended for 20mm slate chippings.
If you’re working with 40mm slate chippings, a depth of 5-6cm ensures an attractive appearance.
When it comes to the larger 50-150mm Slate Paddlestones, a slightly deeper layer of approximately 6cm is advised.
Don’t be fooled by their size; these Paddlestones settle gracefully. However, it’s worth noting that due to their dimensions, they might not be the best choice for creating paths and driveways, where more compact chippings would perform better.
Step 3: Mark out the area for excavation
Tailoring your approach to the specific usage is a fundamental key.
In scenarios where foot traffic comes into play – think slate pathways – a strategic excavation and the establishment of a foundational layer using crushed Type 1 MOT becomes a wise move.
This extra step bolsters stability and ensures longevity.
Begin by using either string or wooden markers to delineate the designated excavation zone.
This is particularly important for areas earmarked for high foot traffic.
However, if the space in question is intended for more passive purposes, such as garden borders, edging accents, or planting zones, the need for a sub-base might be obviated.
In such cases, don’t rush to lay down the slate just yet. Prioritize weed prevention and enhance drainage by incorporating a layer of Weed Prevention Membrane beneath the slate.
This dual-purpose layering not only curbs pesky weed intrusions but also aids in optimizing the overall drainage system, an essential facet of a thriving garden ecosystem.
Step 4: Dig The Area
With your designated territory clearly outlined, it’s time to grab that trusty shovel and embark on the excavation phase.
If your vision involves crafting slate pathways that radiate charm and durability, the depth to aim for is around 4 inches.
This strategic depth facilitates the inclusion of crushed Type 1 MOT beneath the slate, providing a robust foundation that ensures enduring strength and steadfast stability.
Should your aspirations involve enhancing garden zones not destined for foot traffic, the excavation parameters shift.
In this scenario, a depth of 4-5cm will suffice for standard slate chippings, with a slight adjustment to 5-6cm if you’re working with the more substantial 40mm variety.
Now, let’s talk about an essential ally in your gardening arsenal: the weed prevention membrane. As you excavate, this invaluable sheet takes centre stage.
Lay it atop your freshly dug area, ensuring coverage extends across the full slate expanse.
Contouring it to the exact shape of your space can be a bit of a puzzle, especially if you’re dealing with unconventional contours.
No worries – simply employ strategic cuts and overlapping sections to eliminate gaps and embrace flawless coverage.
Whether it’s a pathway that beckons wanderers or a garden bed that thrives, each dig moves you closer to a landscape where functionality and aesthetics coalesce in harmonious brilliance.
Step 5: Add Your Slate Chippings
Now that your foundation is set, it’s time to bring in the star of the show – your beautiful slate chippings.
This step adds the final touch to your landscape, transforming it into a picturesque haven.
Using a shovel, carefully scoop the slate chippings and place them onto the area where you’ve laid the weed prevention membrane.
Take your time to evenly spread them out, ensuring a consistent coverage.
To achieve this, grab a garden rake and gently move the chippings around until they’re distributed smoothly.
Think of it as arranging the pieces of a puzzle; each chipping finds its rightful place, contributing to the overall aesthetic.
This process is both creative and satisfying – you’re moulding the visual identity of your garden.
As you work, envision the end result – a breathtaking mosaic of slate that adds character to your outdoor space.
Specific Applications for Slate Chippings
Driveway Enhancement
To begin, the key lies in selecting the right slate chippings, with 20mm Slate Chippings emerging as an optimal choice.
Their flatter profile offers a more comfortable surface for driving, making them the ideal candidate.
With your preferred chippings in mind, the groundwork awaits. Mark out the area earmarked for your driveway, demarcating the canvas upon which your vision will unfold.
Now, it’s time to dig. With diligence, excavate the designated zone to a depth of roughly 4 inches, ensuring a canvas that’s primed for transformation.
Next, comes the foundation. A layer of approximately 10cm of Type 1 MOT is the magic touch that ensures stability, resisting the pressures of vehicular weight and maintaining a steadfast demeanour over time.
Employ a sledgehammer to compact the layer of Type 1 MOT, ensuring its resilience against the rigors of daily traffic. For expansive driveways, consider enlisting a roller to achieve comprehensive compaction.
A layer of Driveway Fabric Weed Prevention Membrane acts as a barrier, thwarting weed growth while facilitating efficient drainage. Tailor the membrane to your canvas, cutting it to fit the contours of your base.
With the stage set, it’s time for the grand reveal. Gently shovel your chosen decorative slate chippings onto the membrane-covered base, ensuring a depth of at least 6cm.
Once they’re in place, employ the finesse of a garden rake to distribute the chippings evenly, creating a symphony of texture and visual appeal.
Pathways and Walkways
Building a slate chipping pathway is like painting a masterpiece in your garden – it blends practicality with beauty, inviting you to embark on a sensory journey.
Let’s dive into the step-by-step process that will transform your outdoor space into a work of art.
1. Choose Your Slate Chippings: Begin by selecting the right slate chippings. Opt for 20mm Slate Chippings, known for their smoother surface that’s both visually appealing and foot-friendly.
2. Mark Out Your Pathway: Outline the path you envision for your chippings. This simple step sets the stage for a well-defined and visually pleasing result.
3. Excavate with Purpose: With purposeful strokes, dig down to about 4 inches. This creates the canvas on which your pathway will come to life. Remember, you’re not just digging; you’re shaping a functional work of art.
4. Lay the Groundwork: Place a weed prevention membrane over the excavated area. This layer not only keeps unwanted growth at bay but also aids in drainage. Trim and adjust the membrane to fit seamlessly.
5. Chippings Take Center Stage: Gently pour your selected slate chippings onto the membrane-covered base. Aim for a depth of at least 6cm to ensure a substantial and visually pleasing result.
6. Spread the Beauty: Using a garden rake, distribute the chippings evenly across the pathway. This step ensures a smooth and inviting surface that’s both safe and stunning.
7. Revel in Your Creation: Step back and take in the beauty you’ve crafted. Your slate chipping pathway is now ready to be enjoyed, offering a visual delight as well as a functional route through your garden.
How To Lay Slate Chippings Conclusion
As we wrap up our exploration of How To Lay Slate Chippings, it’s time to bask in the achievements that have graced your garden.
Armed with practical know-how and an artistic eye, you’re now equipped to transform your outdoor spaces into stunning showcases of natural elegance.
By mastering the art of laying slate chippings, you’ve added a new layer of skill to your landscaping repertoire.
The pathways and driveways you create will not only serve as functional features but will also radiate an inviting charm that enhances your entire garden.
As you put your newfound expertise into practice, remember that every rake stroke and chipping placement is a testament to your commitment to crafting landscapes of distinction.